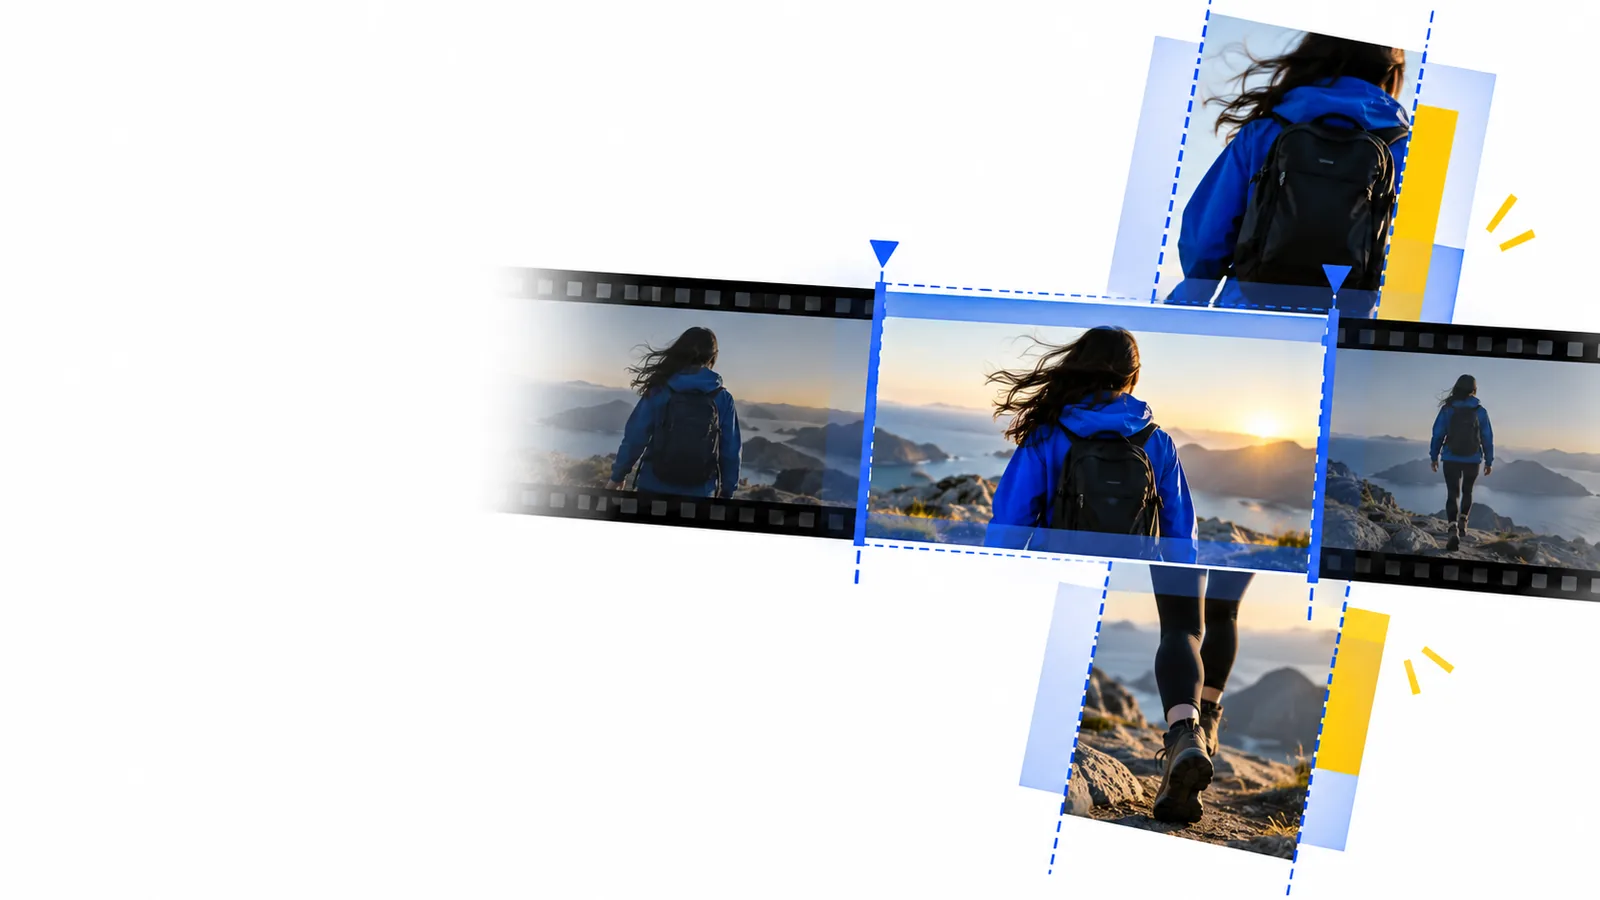
Creator workflow

Make your next upload with an online video editor for youtube

An online video editor for youtube is most useful when you know what the viewer should see first, what can be cut, and what needs checking before publication. Start with a simple edit brief rather than trying every effect.

Review available options before editing
Onlinevideo landing-page video editing visual

Where YouTube edits get stuck

A long setup, unclear sequence, or missing rights information can delay an upload even when the footage is ready. Choose the next step that matches your actual bottleneck.

Limits to check before editing

This page offers a planning route, not a promise that every editing or publishing task happens in one place.

It cannot publish to your channel

Preparing a video is separate from uploading it, selecting its audience, writing metadata, and setting visibility in YouTube. Do not treat an edited file as a published video.

Workaround

Leave time for YouTube's upload flow and review the processed video there before sharing its link.
It cannot clear music or footage rights

An editor cannot grant permission to use a song, stock clip, screenshot, or another creator's recording. Copyright checks depend on the source material and its license.

Workaround

Keep a record of licenses and replace material whose permitted use is unclear.

It cannot guarantee an export setting

Available aspect ratios, resolutions, file types, and export controls depend on the tool you reach. This route does not establish which settings that tool offers.

Workaround

Check the available export controls and compare the resulting file with YouTube's current upload guidance.

Three concrete workflows for a YouTube upload

Pick one workflow for the problem in your footage. Each ends with a reviewable cut, not an automatic promise of a finished upload.

  1. 1

    Tighten a talking-head lesson

    Mark the moment the lesson becomes useful. Move that point closer to the opening, remove repeated explanations, then watch every cut for clipped words or abrupt changes in tone. Keep the context viewers need to understand the result.

  2. 2

    Build a screen-recorded walkthrough

    List the actions a viewer must follow, then arrange recordings in that order. Check whether on-screen text remains legible at a smaller viewing size, and leave enough time for viewers to read each important step.

  3. 3

    Turn several clips into one story

    Choose a beginning that establishes the subject, a middle that shows progress, and an ending with a clear outcome. Remove duplicate angles before considering transitions; a straightforward cut often explains the sequence better.

Example output: a clearer tutorial opening

Imagine a recording that begins with greetings, equipment adjustments, and a lengthy explanation before showing the task.

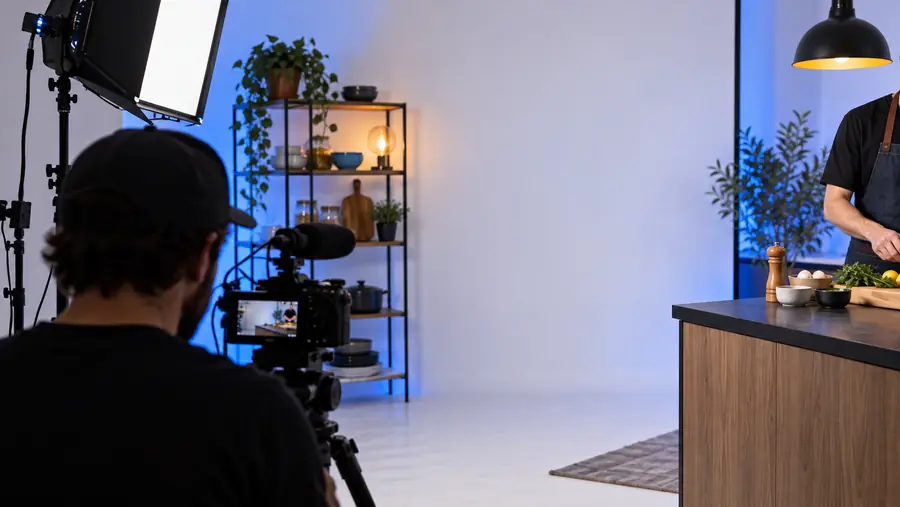
Illustrative visual for an untrimmed video opening Before: delayed demonstration
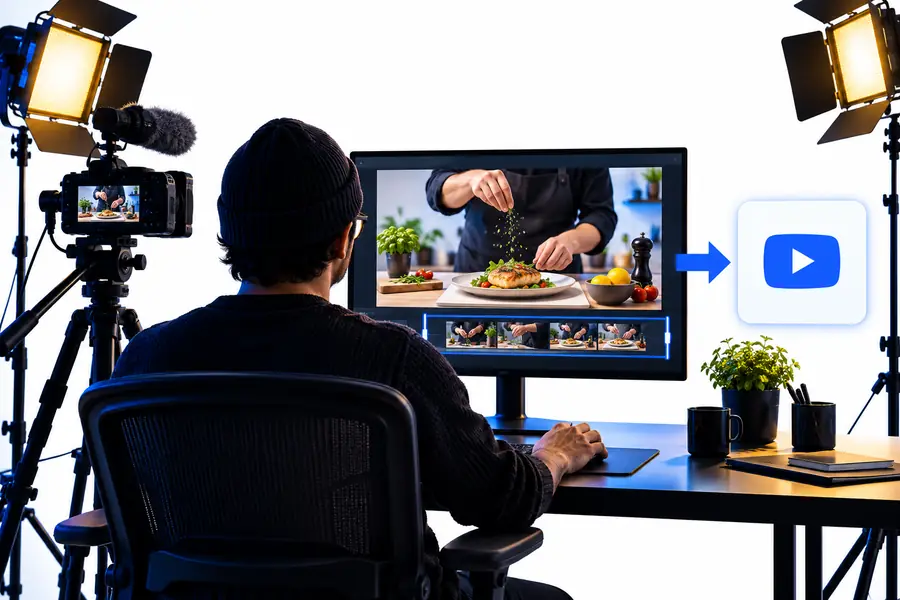
Illustrative visual for a YouTube-focused editing plan After: result first
A proposed cut opens on the completed result, briefly names the task, then moves into the first necessary action. It retains safety instructions and any setup the viewer needs; it only removes material that postpones the demonstration. These visuals illustrate a planning comparison, not a guaranteed export or a verified transformation of the same source clip.

Match the edit to the creator

Different channels need different checks. Use the closest scenario as a brief, then adapt it to your footage and audience.

Desktop tutorial creator

You have a screen recording, microphone audio, and a script that changed while you recorded. Identify the steps that made the final cut.

Review readability and audio continuity on your computer; the online video editor for pc guide helps frame that desktop workflow.

online video editor for pc

New channel owner

You have one complete take but are unsure where to cut or how to order the explanation.

Make a rough cut first; the online video editor tutorial for beginners lays out a manageable first-project sequence.

online video editor tutorial for beginners

Returning uploader

You need to decide whether a change belongs in the source edit or in YouTube after the file is uploaded.

Separate those tasks before revising; the online video editor vs youtube comparison helps identify where each change belongs.

online video editor vs youtube

Compliance notes before you publish

Review the cut, then review the upload

Watch the exported video from beginning to end, including captions or on-screen text if you added them. Confirm that you have permission for music, images, and third-party clips. Then check YouTube's current requirements for your intended upload, set the appropriate audience and visibility options, and inspect the processed result before directing viewers to it.

Explore editing options
  • Check source-material rights
  • Verify the exported file
  • Review YouTube settings separately

YouTube editing questions

Yes, you can prepare an edited file before using YouTube's upload flow. Check the tool's available export options and watch the file yourself before uploading; editing and publishing are separate steps.

Look for repeated greetings, pauses, and setup that does not help viewers understand what follows. Keep essential context, warnings, and any explanation needed to make the first demonstration meaningful.

No. Editing a piece of music or footage does not give you permission to use it. Review the rights for every third-party asset and consult YouTube's current copyright guidance before publishing.

Either approach may fit your workflow, depending on the editing and caption options available to you. Whichever route you choose, review names, technical terms, and timing against the final audio rather than assuming an automatic transcript is accurate.

Play the processed video on YouTube and check picture, audio, readable text, and the opening and ending. Also confirm the title, description, audience selection, and visibility match what you intended to publish.

Edit a video
Edit a video