Editing workflow

Find the best online video editor tutorial for your next edit

The best online video editor tutorial is the one that helps you finish the video in front of you. If your clips feel out of order, the pacing drags, or the final version looks wrong, start with the symptom and make one change at a time. This guide explains what to check before you spend time polishing.

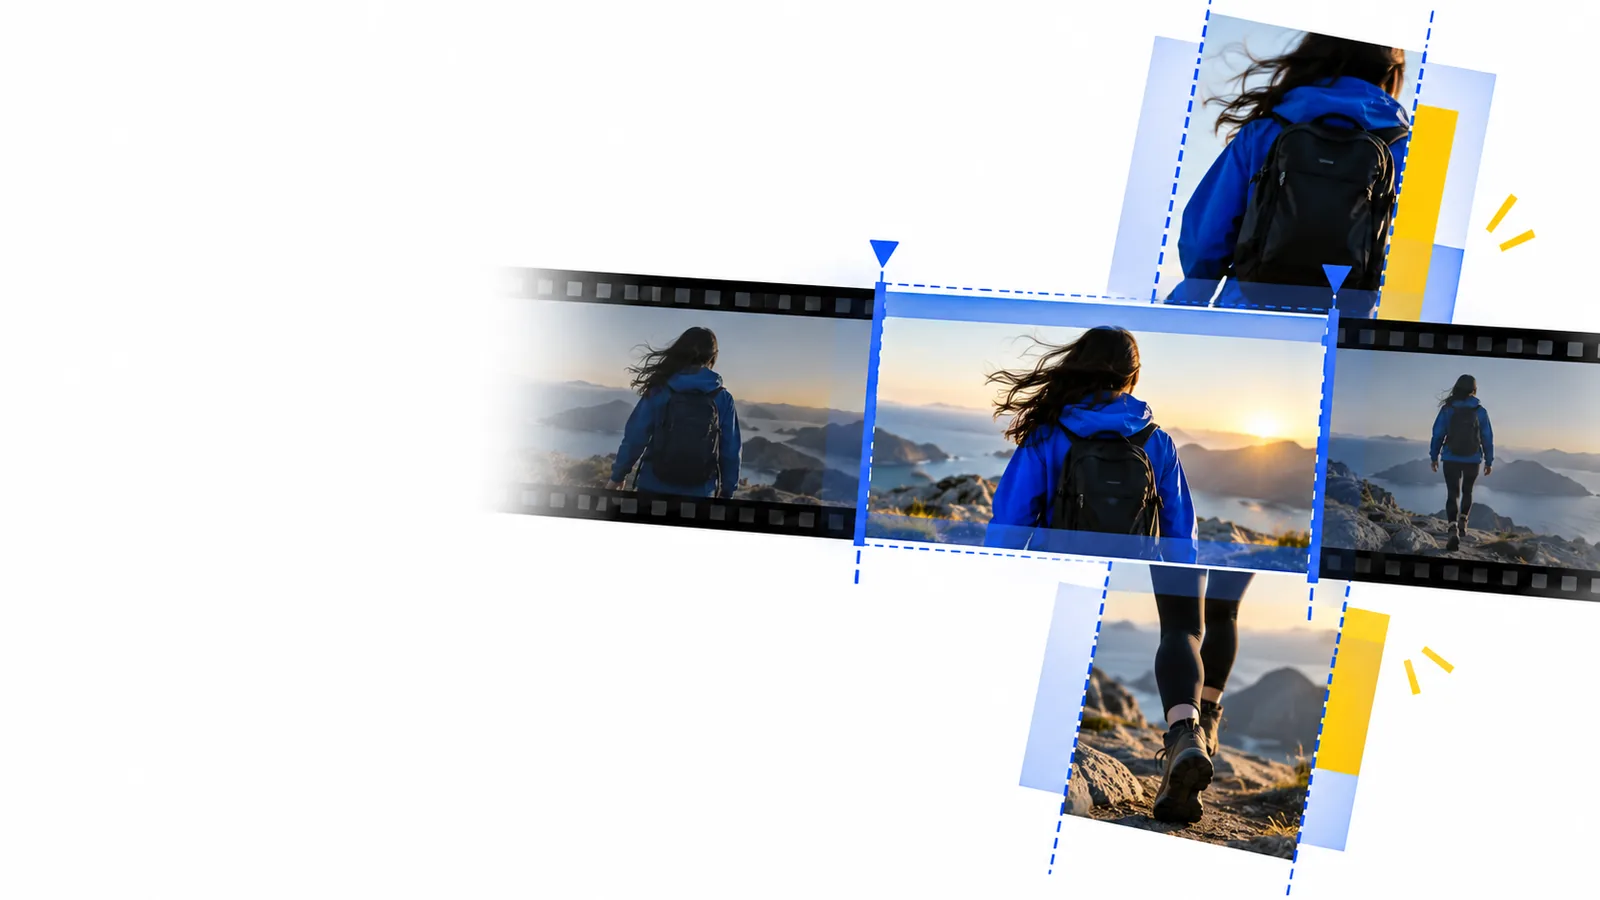
Onlinevideo landing image introducing the video editing workflow

symptom

Identify the problem you can actually see or hear before looking for another editing feature.

elimination order table

Rule out the issues that affect the whole video before adjusting individual moments.

A tutorial cannot repair missing source footage

If the shot you need was never recorded, rearranging the timeline will not create it. Check the original files before trying transitions or effects.

Workaround

Use an existing cutaway, a relevant still, or a shorter script that does not depend on the missing shot.

It cannot guarantee an export option

Available file types, resolution, watermark rules, and access conditions depend on the editor you open. Do not assume a setting exists because another tutorial shows it.

Workaround

Inspect the actual export screen and make a short test before committing to a lengthy edit.

It cannot make unclear audio intelligible

Cuts can remove pauses, but heavily distorted or quiet speech may still be difficult to understand. Music can hide the problem during a quick preview.

Workaround

Listen without music, replace a usable recording if available, or add accurate captions where supported.

It cannot verify rights or permissions

An online video editor may let you place music, images, or clips on a timeline without confirming that you have permission to publish them.

Workaround

Check the licence and intended use of each asset before you share the finished video.

each fix's steps

Use this order to isolate the cause. Preview after each fix so you know which change helped.

  1. 1

    Fix the story before the styling

    Write the intended beginning, middle, and ending in one sentence each. Put the clips in that order, remove obvious duplicates, and preview the sequence without effects. If the point is still hard to follow, move or remove a shot before changing its appearance.

  2. 2

    Fix pacing at the cut

    Find the first moment when your attention wanders. Trim dead air at the start or end of that clip, then watch the cut with the preceding and following clips. Keep enough context for the action to make sense; trimming every pause can make speech feel rushed.

  3. 3

    Fix sound before adding music

    Listen to dialogue on its own at a comfortable volume. Check whether adjacent clips jump sharply in loudness or begin with a clipped word. Adjust or replace the source audio if the editor offers the controls you need, then bring music back and confirm that speech remains clear.

  4. 4

    Fix the frame and test the finish

    Check that important subjects remain visible in the intended aspect ratio. Review the opening, one cut in the middle, and the ending at normal speed. If export is available, inspect a short test file outside the editor before treating the project preview as final.

how to avoid recurrence

A repeatable review habit prevents the same problem from returning in your next project.

First-time editor

You keep changing effects while the clip order is still uncertain. Save a simple story outline and assemble a plain first cut before styling anything.

For a slower walk-through of the fundamentals, use the linked beginner tutorial before starting another project.

online video editor tutorial for beginners

Occasional creator

You reach the end of an edit and only then discover a question about access or export. Check those conditions early with a short sample project.

The linked first-project guide helps you plan the process without assuming that every online video editor has the same options.

how to use online video editor for free

Returning editor

You remember the controls but forget which checks caught problems last time. Keep a brief checklist for sequence, pacing, sound, framing, and the exported file.

Revisit the linked beginner workflow when a new project feels more complicated than the one you last completed.

online video editor tutorial for beginners

Use the comparison as a review checklist, not as a claim that one tool automatically produces better work.

Random adjustment
Symptom-first review

Starting point

Random adjustment

Try a new control because the video feels off.

Symptom-first review

Name the specific shot, sound, or transition that feels off.

Clip order

Random adjustment

Polish individual clips before checking the sequence.

Symptom-first review

Confirm the beginning, middle, and ending first.

Pacing

Random adjustment

Shorten every clip by a similar amount.

Symptom-first review

Trim only where a pause or repetition interrupts the point.

Audio

Random adjustment

Add music and judge the mix during playback.

Symptom-first review

Listen to speech alone, then check it again with music.

Framing

Random adjustment

Assume the editor preview matches the intended destination.

Symptom-first review

Review the frame in the aspect ratio you plan to use.

Final check

Random adjustment

Stop when the timeline preview looks finished.

Symptom-first review

Inspect an exported test file when the chosen tool permits one.

Put the review order to work

Bring one short project to an online video editor and start with the most visible problem. Make a plain cut, check the sound, review the framing, and inspect the result before adding polish. Onlinevideo links you to a video product; check its current editing and export options there before relying on a particular feature.

Open video editor
  • Start with a short sequence
  • Change one thing at a time
  • Check the finished result

tutorial FAQ

It gives you a clear order for finding and fixing problems in your own footage. Start with the story and clip order, then address pacing, sound, framing, and the final file. A list of impressive effects is less useful if the basic edit still does not communicate its point.

Learn to arrange and trim clips first. A clear sequence makes it easier to tell whether a transition or effect actually helps. Add styling only after you can watch the plain cut from beginning to end without losing the thread.

Play the original file outside the editing project and compare it with the timeline preview. If the issue exists in both places, investigate the source recording first. If it appears only in the project, review your edits and the available project settings.

A timeline preview lets you practise editing, but it does not always show what a shared file will look or sound like. If your chosen editor permits an export, test a short section and play that file separately. Check the tool's current access and export conditions rather than assuming a particular option is included.

Note the exact moment when your attention drops, then look for repeated information or a pause that adds nothing. Trim that section and watch it with the clips on either side. If the video becomes confusing, restore enough context before making another cut.

Edit a video
Edit a video